




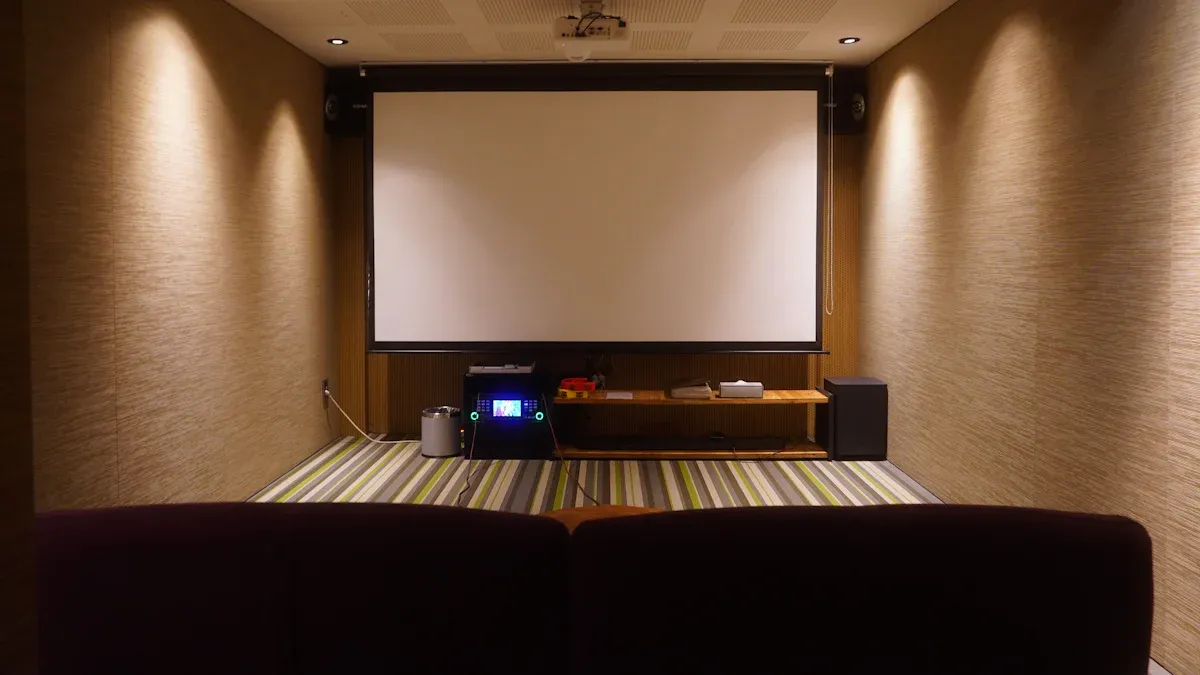
Setting up your home theater projector is easy if you follow a home theater projector setup guide. Anyone can create a home theater that delivers an exceptional movie experience. Before you begin, think about what you want to see and hear. Plan your home theater space carefully and choose the right equipment. These steps are crucial. Some people neglect to use quality sound systems or opt for a wall instead of a screen, which can diminish the experience. The best projector for the bedroom or living room will depend on your specific needs. This guide will assist you in setting up your home theater for the first time. You can achieve a genuine home theater experience. You deserve a home theater that makes every movie thrilling. Utilize the home theater projector setup guide and enjoy your home theater!
Key Takeaways
Pick the best projector for your room and needs. Think about how big your room is and how clear you want the picture to be.
Make a plan for your home theater setup. Measure how far seats are from the screen. This helps everyone watch movies comfortably.
Block outside light in your room. Use blackout curtains or special screens. This makes the picture look better when you watch movies.
Buy extra speakers for better sound. The speakers inside the projector are not always good enough for a great movie experience.
Check and change your projector settings often. This helps your projector work its best and keeps movie nights fun.
Home Theater Projector Setup Guide Basics
What Is a Home Theater Projector
You may ask why a projector is good for your home theater. A projector lets you show movies, shows, or games on a big screen. The screen can be over 100 inches wide. You can make your living room or bedroom feel like a small movie theater. Projectors are flexible. You can put them on the ceiling or use them outside for a backyard movie night. If you look at a projector and a regular TV, you will see some clear differences:
Advantage |
Home Theater Projector |
Traditional Television |
|---|---|---|
Screen Size |
Can show images over 100 inches |
Usually stops at 85 inches |
Value for Money |
Better deal for bigger screens |
Costs more for big screens |
Placement Flexibility |
Can go on ceiling or outside |
Stays in one spot |
You get a bigger screen and more ways to set it up. You also spend less money if you want a large screen. This makes a projector a smart pick for anyone who wants a real home theater.
Key Features Explained
When you start setting up your projector, you should check some important features. These features help you get the best picture. Here are some things to think about:
High gain screens make the picture brighter and keep colors true. If you use too much gain, you may see bright spots and lose some viewing angles.
Grey or high contrast screens make dark scenes look deeper. This helps if your projector does not have strong contrast.
Ambient light rejecting screens block extra light. You can see a clear picture even if your room has windows or lamps.
Matte white screens give you wide viewing angles and true colors. They work best in rooms where you can control the light.
You can use this guide to pick the best features for your projector. The right choices will make your movie nights better and every experience special. If you follow the guide, you will have a home theater that fits your needs and gives you a great time.
Designing Your Home Theater Setup
Room Assessment
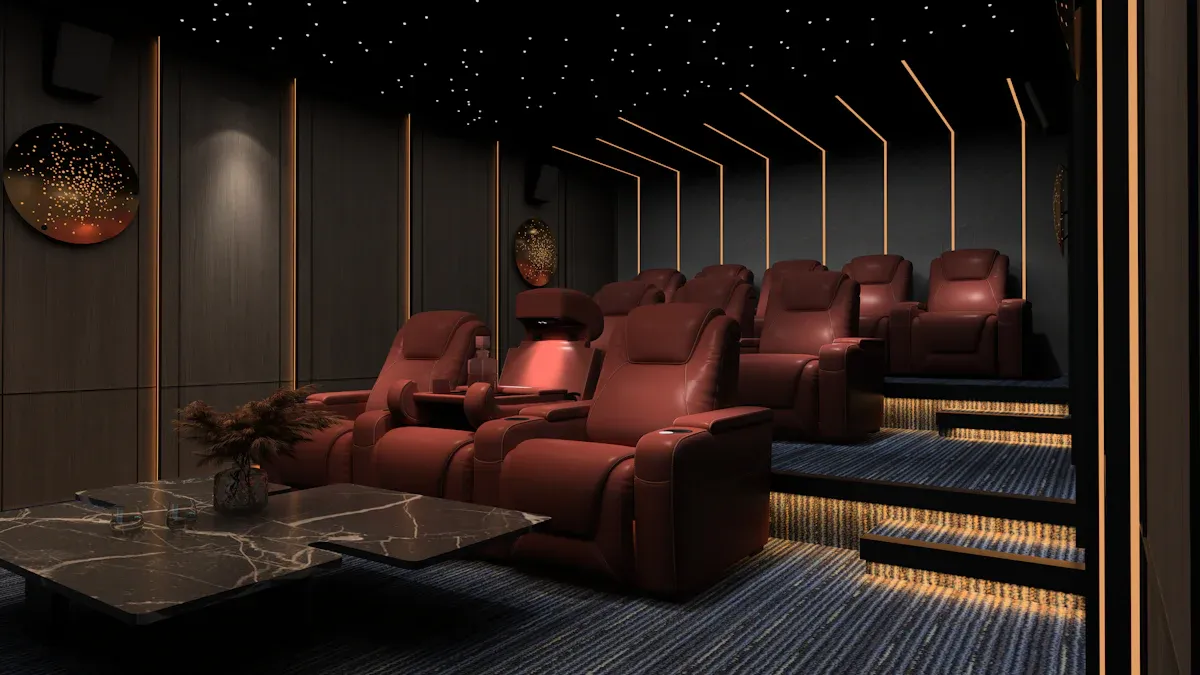
You want your home theater room to deliver the best movie experience. Start by looking at the room’s dimensions and the main seating area. Measure the distance from the screen to the seats. The screen height should be about one-third of that distance. Place the screen 24 to 36 inches above the floor for a comfortable viewing angle. Pick a wall that does not get direct light. This location helps you avoid glare and keeps the picture clear. Think about the throw distance. Standard projectors need more space between the lens and the screen. Ultra-short-throw projectors sit just inches from the wall. Check the location for the projector and screen. Manual pull-down screens save space and money. Fixed screens give better image quality. You can paint drywall with matte white paint for a budget-friendly option. Plan the location for audio equipment and source devices. Every location matters for a smooth setup.
Tip: Walk around your home theater room and imagine where you want the screen, projector, and speakers. This guide helps you find the best location for each piece.
Lighting Considerations
Ambient lighting can ruin your viewing experience. Light from windows or lamps washes out the picture and makes colors look dull. Control the light in your home theater room. Use blackout curtains or shades. For a living room projector setup, pick a location away from bright windows. Projectors with 2,000 lumens work well in dark rooms. If you have ambient light, choose a projector with 3,000 lumens or more. Specialized screens like Ambient Light Rejecting screens help keep the image sharp. The right location for your screen and projector improves your experience.
Seating Arrangement
Seating affects your movie experience. Place seats so everyone faces the screen directly. Avoid putting seats too close or too far from the screen. The main seating location should let you see the whole picture without straining your neck. Arrange seats in rows or a semi-circle for a cozy feel. Make sure each location gives a clear view and good sound. This guide helps you create a living room projector setup that feels like a real theater. The right location for seats, projector, and screen makes your experience unforgettable.
Choosing Projector and Screen
Types of Projectors
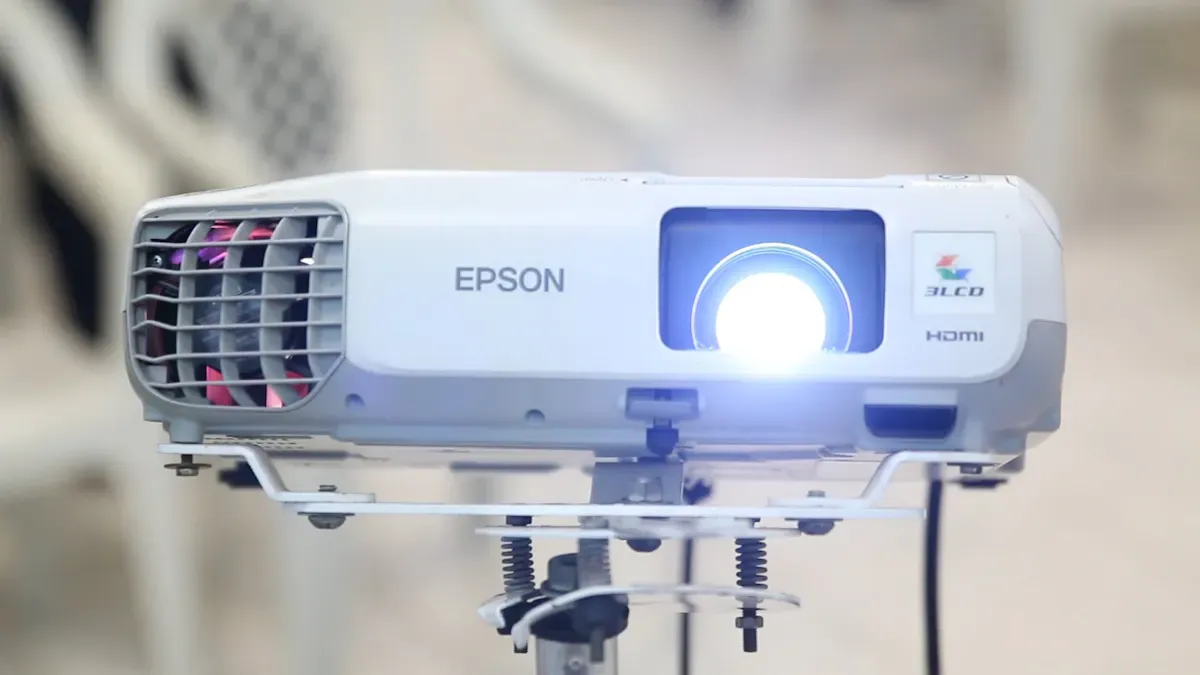
You want the best movie experience at home. You need to choose the right projector for your setup. There are many types. Each one fits a different need. Here’s a quick look:
Description |
|
|---|---|
Entry-level portable projectors |
Affordable and easy to move. Great for casual movie nights. |
Smart LED and laser projectors |
Offer better image quality and smart features. Easy to connect to devices. |
Ultra-short-throw projectors |
Sit close to the screen. Save space and look neat in small rooms. |
High-end 4K home cinema projectors |
Give you sharp images and deep colors. Perfect for a true theater feel. |
Standard home theater projectors |
Work well in dedicated setups. Show high resolution and strong contrast. |
Portable & mini projectors |
Small and light. Good for travel or outdoor use. |
Smart projectors |
Have built-in apps and streaming. No need for extra boxes. |
Think about your space and how you want to use your projector. This guide helps you choose the right projector for your room and your viewing style.
Screen Selection
The screen matters as much as the projector. The right screen makes your picture bright and clear. You have many choices. Here’s how different screen materials affect your image:
Screen Material |
Impact on Image Quality |
|---|---|
Vinyl |
Lasts long, easy to clean, works in many setups. |
Fabric |
Shows true colors and wide viewing angles. |
High-gain |
Makes the image brighter. Good for rooms with light. |
When you pick a screen, think about these things:
The type of projector you use (LCD, DLP, LED)
How much light is in your room
The size and resolution you want
How tough you need the screen to be
If you want sound to pass through the screen
You can use a projector screen or even a painted wall, but a real screen gives you the best experience.
Matching Projector to Room Size
You want your setup to fit your space. Measure your room before you buy. The display screen location should let everyone see the picture. Ultra-short-throw projectors work well in small rooms. Standard projectors need more distance. For a big room, pick a projector with high brightness and a large screen. For a small space, a compact projector and a smaller screen work best. This guide helps you choose the right projector and screen for your room. You get the best experience when you match your projector to your space.
Tip: Always check the throw distance and screen size before you buy. This step makes your setup easy and your movie nights amazing.
Placement of Projector and Screen
Positioning Tips
You want your projector to show clear and bright images. Where you put the projector and screen is very important. If you pick the right spot, you can watch movies without hurting your eyes or seeing blurry pictures. First, measure your room and the size of your screen. The best distance from the projector to the screen is about 1.5 to 2.5 times the screen’s diagonal length. This helps you see sharp details and keeps your eyes from getting tired.
Let’s look at how far each projector type should be:
Short-throw projectors sit close to the screen. Their throw ratio is between 0.4 and 1. These are good for small rooms.
Standard-throw projectors need more space. Put them 1.5 to 2.5 times the screen width away.
Long-throw projectors are for big rooms. They need more than 2.5 times the screen width.
You also need to think about screen size, resolution, and light in the room. Bigger screens need projectors with higher resolution. If you can control the light, your picture will look better. If you follow these steps, you won’t make mistakes like putting the projector too close or too far.
Tip: Always look at the throw ratio chart from the manufacturer. This chart helps you find the best spot for your projector.
Good placement makes the picture sharp, colors even, and brightness the same everywhere. If you set up the projector right, you see clear details and nice colors. If you get it wrong, the picture might look uneven or make your eyes tired. If the projector is too far, the picture can get blurry because of the lens.
Factor |
Impact on Image Quality |
|---|---|
Image Sharpness |
Right distance keeps details clear |
Color Uniformity |
Good placement gives even colors |
Illumination Evenness |
Stops brightness from changing across the screen |
Increased Eye Strain |
Bad placement can make your eyes hurt |
Reduced Visual Comprehension |
Bad setup makes pictures hard to see |
Long-term Visual Fatigue |
Wrong setup can make your eyes tired over time |
If you want the best setup, pay attention to where you put the projector and screen. This guide helps you enjoy your home theater more.
Mounting Options
There are different ways to mount your projector and screen. Each way works for a different room or style. Ceiling mounts save space and let you see the screen without anything in the way. Many people use ceiling mounts because they help you get the right distance. Table mounts let you move the projector and change its position easily. Wall mounts are good if you can’t use the ceiling. You can change the angle and height with wall mounts.
Here are the most common ways to mount screens:
Mounting Option |
Description |
|---|---|
Fixed |
Goes right on the wall. Good for setups that stay in one place and flat walls. |
Portable |
Easy to move. Good for setups you don’t keep up all the time, but may change the picture quality. |
Retractable |
Pulls down or rolls up. Great for rooms you use for other things and can hide in the ceiling. |
You can also pick from these projector mounting options:
Ceiling Mount: Saves space and gives you the best distance.
Table Mount: Lets you move and adjust the projector easily.
Wall Mount: Good when you can’t use the ceiling. Lets you change the angle.
Ceiling mounts are popular because they keep the projector out of the way and help you get a good picture. Table mounts are easy to move, and wall mounts are helpful if you need to reach the projector.
Note: Make sure your mount fits your room and setup. If you want your room to look neat, use retractable screens and ceiling mounts.
If you follow this guide, you will make smart choices about where to put your projector and screen. Your setup will look nice and work well for movies, games, or sports.
Projector Setup and Cabling
Setting up your home theater projector is fun and new. You can turn your living room or bedroom into a movie spot. This guide shows you each step, so you can set up like an expert. A projector setup diagram helps you plan and stay organized. Let’s look at the basics.
Unboxing and Inspection
You just got your projector. The first thing to do is open the box and check what’s inside. Here are the steps to follow:
Take the projector and all parts out of the box.
Look at each piece for any damage. Check the projector, cables, remote, and mounts.
If you find a problem, call customer support right away.
You want your projector to work well. Checking everything now helps you avoid problems later. A good setup starts with a careful check.
Tip: Save the box and packing stuff. You might need them if you move or send the projector back.
Connecting Devices
Now you can hook up your devices. This part makes your home theater work. You have many choices, and a projector setup diagram shows where things go. Here’s how to connect your devices:
Find the input ports on your projector. Decide which device goes in each port.
Use HDMI cables for the best sound and picture.
Give each HDMI port a job. For example, one for your game system, another for your streaming stick.
If you need more ports, use an HDMI switch or receiver. This gives you more space and keeps things neat.
Set up your sound. You can use a surround sound receiver, a soundbar, or speakers.
Adjust the audio delay. This keeps the sound and picture together.
You want your setup to work well. A clear projector setup diagram helps you not make mistakes. You can watch movies, play games, and see shows without trouble.
Note: Always read your device manuals. Some things need special settings to work their best.
Cable Management
Cable management makes your setup look neat and work better. You want your home theater to look nice and run well. Here are some ways to keep your cables tidy:
Use velcro ties or cable sleeves to hold cables together.
Put cable raceways or conduits on walls and ceilings. This hides cables and keeps things clean.
Keep power cables away from signal cables. This stops problems and keeps your setup strong.
Try wireless options if you want fewer cables.
Good cabling makes your setup safe and strong. Good cables stop signal loss and problems. Careful cable paths stop damage and make changes easy. You get a nice look and fewer tech issues. Good cable management also keeps your home theater safe and fun.
Callout: Good cable management is not just for looks. It keeps your gear safe and helps your setup last longer.
You can use this guide for an easy setup. You will see how a projector setup diagram helps you plan each part. Good setup and cable care give you a home theater that works great and looks good.
Calibration and Picture Optimization
Getting a cinema-quality picture at home feels amazing. You can do this with a few simple steps. This guide will help you get the best image from your projector. You do not need to be an expert. You just need to follow the right setup steps.
Image Alignment
You want your projector image to fit the screen perfectly. Start by checking the throw distance. Place your projector at the right spot so the image fills the screen. Make sure the projector lens faces the screen straight on. This stops weird shapes or keystone effects. If your projector has lens shift, use it to move the image up or down without moving the whole projector.
Here’s a quick checklist to help you align your image:
Place the projector at the correct distance from the screen.
Make sure the lens is perpendicular to the screen.
Use an alignment image or test pattern to check the edges.
Adjust the zoom to fit the image to the screen.
Fine-tune the focus for a sharp picture.
Use keystone correction if needed.
Play a movie or show to see if everything looks right.
Tip: Use a test pattern or grid image to make sure the corners and edges line up with your screen.
Adjusting Settings
Now you can make your picture look even better. Start with the basic settings. Adjust the brightness and contrast so you see deep blacks and bright colors. Try out different presets like Dynamic or Vivid if you want a brighter image. If your projector has dynamic contrast or adaptive brightness, turn these on for automatic changes.
You can also fine-tune the color. Change the color temperature to make whites look natural. Adjust the color gamut for more accurate colors. Set the sharpness so details pop, but do not make the image look fake. Some projectors have noise reduction and edge enhancement. Use these carefully so you do not lose detail.
Here are some tools you might use for calibration:
Tool Type |
Description |
|---|---|
Measures light and color for accurate adjustments. |
|
Pattern Generator |
Shows test patterns to help you align and adjust the image. |
Professional Service |
Experts can calibrate your projector for the best results. |
You can save your favorite settings as a user profile. This makes it easy to switch between daytime and nighttime viewing. With this guide, you can enjoy a setup that gives you a cinema-quality picture every time.
Home Theatre Audio Setup
Great sound can turn your movie night into a real event. You might think the picture is the most important part, but audio makes the action feel alive. Let’s look at your options and how to get the best sound in your home theater.
Built-in vs. External Speakers
Most projectors come with built-in speakers. These are easy to use, but they often sound weak or tinny. You may notice that dialogue is hard to hear or that action scenes lack excitement. If you want a true theater experience, you should use external speakers. A soundbar or a surround sound system will make a huge difference. These options give you clear sound and deep bass. You will hear every word and feel every explosion. This guide recommends external speakers for anyone who wants a real home theater setup.
Note: The center-channel speaker is key for dialogue. It handles most of the talking in movies, so don’t skip it.
Speaker Placement
Where you put your speakers matters just as much as which ones you buy. Good placement helps you hear every detail. Here’s a quick guide to get you started:
Place your main seat in the center of the short wall, about 18 inches behind the centerline.
Put the center speaker right in front of you, close to ear height.
Set the left and right speakers at an angle between 22.5° and 30° from the center.
Keep all three front speakers the same distance from your seat if you can.
Start with the front left, right, and center speakers. These form the base of your sound.
Make sure the speakers form an arc around your seat. This helps the sound reach you at the same time.
Listen for a few days. Move the speakers a little if something sounds off.
Achieving the best surround sound speaker placement is a journey. Try different setups and trust your ears.
A good audio setup makes your home theater feel like a real cinema. Clear dialogue and balanced effects pull you into the story. This guide helps you get the most from your speakers and your room.
Troubleshooting Projector Setup
Even with a good setup, you might run into a few bumps along the way. Don’t worry—most projector problems have simple fixes. This guide will help you spot common issues and get your home theater running smoothly again.
Common Image Issues
Sometimes, the picture on your projector doesn’t look right. You might see a blank screen or strange shapes. Here are some problems you could face:
Distorted visuals
Reduced contrast
Inconsistent brightness levels
Incorrect input source selection
Loose or damaged connection cables
Outdated or malfunctioning video drivers
Accumulated dust on optical components
If you notice any of these, start by checking your cables and making sure you picked the right input source. Clean the lens and vents to remove dust. Updating your video drivers can also help. A quick check can save you a lot of time.
Tip: If your image looks dim or colors seem off, try adjusting the projector’s settings or cleaning the lens.
Connection Problems
You might find that your devices don’t talk to each other. Here’s what you can do:
Make sure you selected the correct input source on your projector.
Check that all cables are secure and not damaged.
Confirm that your devices work with your projector’s signal formats.
Update your drivers if you have syncing problems.
A simple cable swap or a quick update often solves these issues. If you still have trouble, try restarting both the projector and your connected device.
Dealing with Ambient Light
Ambient light can wash out your picture and make movies less fun. You can fight this problem with a few smart moves:
Use blackout curtains or blinds to block outside light.
Pick a screen designed to absorb ambient light and focus the image.
Control the lighting in your room as much as possible.
Choose a screen with higher gain if your room is bright.
Project onto a white, flat, smooth surface for better results.
If you can’t block all the light, a special screen for high-ambient light rooms can help. These steps will keep your setup looking sharp, even during the day.
Remember: A little planning goes a long way. This guide is here to help you enjoy your home theater without stress.
You can make your home movie nights awesome by doing these things:
Make the picture clear by fixing the focus and zoom.
Change the picture settings and set the brightness just right.
Pick the best picture mode for your room.
Use external speakers to get better sound.
Pick if you want wired or wireless sound.
Check your projector’s settings every two years to keep it working well. If you want movies to feel real, keep learning and changing your setup. You can always look at this guide again or ask for help if you need it.
FAQ
How do you clean your projector lens?
You can use a soft microfiber cloth. Gently wipe the lens in a circular motion. Avoid using harsh chemicals. If dust builds up, use a can of compressed air.
Can you use a projector in a bright room?
Yes, but you need a projector with high brightness. Look for at least 3,000 lumens. You can also use blackout curtains or an ambient light rejecting screen.
What cables do you need for a home theater projector?
Most projectors use HDMI cables. You might need audio cables for speakers. Some setups use wireless adapters. Always check your projector’s ports before buying cables.
How do you fix blurry images?
Try adjusting the focus ring on your projector. Make sure the projector sits at the right distance from the screen. Clean the lens if needed. Use the keystone correction feature.